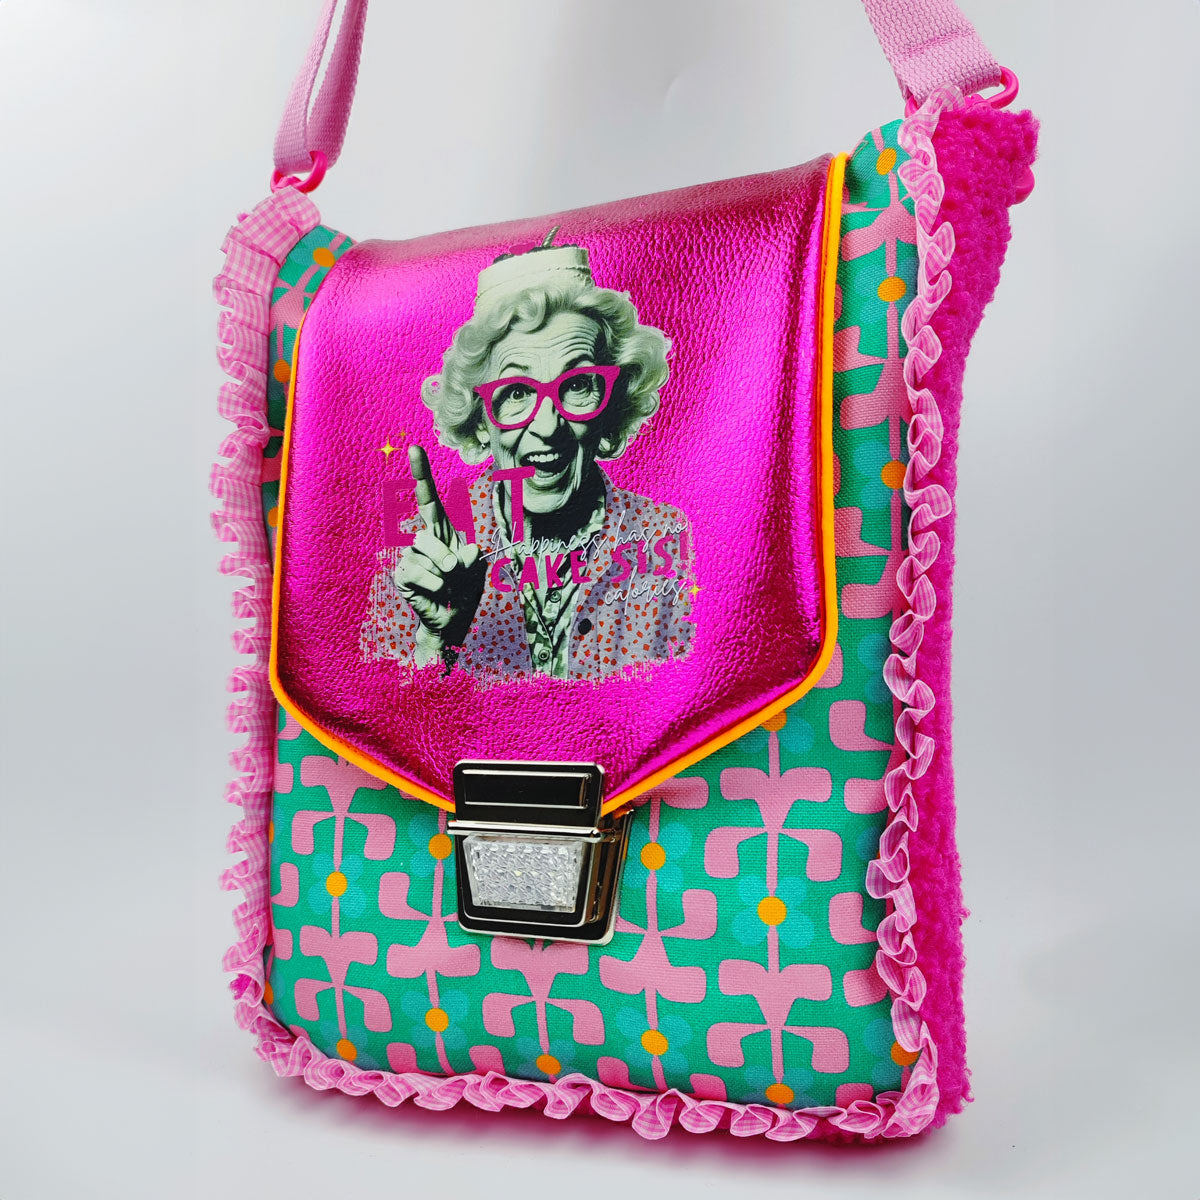
Quickly create your own print templates for your sublimation printer
You probably landed here because you saw my post on Instagram - which is almost a miracle given the current algorithm. Or you found this post via Google because you are just getting to know your sublimation printer.
Sublimation has been taking over the hobby market in recent years and is now on everyone's lips. A few years ago, "food-safe vinyl" was being applied to various cups and bottles. We now know that this is not a good idea because of the plasticizers it contains. You can read a lot about this on various platforms, however, and I will not go into it any further in my text.
So if you want to prevent the above, sooner or later you will not be able to avoid sublimation.
What is sublimation?
The sublimation ink contains special dyes that sublimate when exposed to heat, i.e.
they change directly from a solid to a gaseous state without becoming liquid. This happens at temperatures above 180°C. As soon as the ink is applied to the material and heated, the gas particles penetrate the surface and permanently color it.
This process is particularly suitable for materials that contain 60% or more polyester and polymer-coated products such as mugs, T-shirts, mouse pads, keychains and much more. The surface must have a special coating so that the sublimation ink can adhere and achieve the desired print result. The sublimation printing process does not work on non-coated materials.
For sublimation prints you need a sublimation printer, sublimation ink and the right paper. You also need a transfer press and possibly a mug press. You can find suitable products in online shops such as Plottermarie.
How do I create my own sublimation print templates?
They say there are many ways to Rome and that’s also true with your print templates for the sublimation printer.
The easiest way is actually to use photos, which you can resize in an image editing program to fit your sublimation blank. You can also buy ready-made graphics or create your own graphics. And that's exactly what I want to go into in detail today:
Today I'll show you how to create
your own templates in CANVA !
Create Subli Templates in Canva - Step by Step
- First, open your Canva account and create a new document in A4 (29.7 x 21cm landscape format).
- Then you drag a rectangle into your document using the Elements tab and remove the color, but set a frame or your cutting lines.
- This example was made for mugs and our rectangle is 9cm high x 18/19cm wide. Adjust the size of your rectangle to fit your sublimation blank if necessary. This is now your canvas within which you will create your own design.
- In our example, we worked with the elements from the Dino-riffic plotter file bundle . To have these files in Canva, simply upload the individual SVG elements from the folder to Canva. SVG has the advantage that you can color the elements however you want, meaning you can make the most of your color palette.
- If you use ready-made lettering, don't forget to mirror it!
- Now you drag your elements one after the other into the rectangle you created earlier and color them as desired. This creates your very own collage. Of course, you can also combine elements from Canva.
- When your collage is finished, here's the trick to getting a perfect result: Save your creation as "PDF PRINT" and set the color profile to "CMYK for professional printing". CMYK is only available in the paid Canva account. If you don't have one, there's a small workaround: Save the finished document in the highest resolution as a PNG. Then switch to your image editing program of choice and save it from there in the CMYK color space as a PDF.
gallery of the individual steps
Buy ready-made sublimation templates
If you don't feel like it or just want to save yourself the time, you can also buy the "Dino Cups" template created here:
Sublimation Mug Template Dino-riffic
Have fun trying it out and a big thank you to Sandra from
Sewhaio who supported me in this project with her printer!


